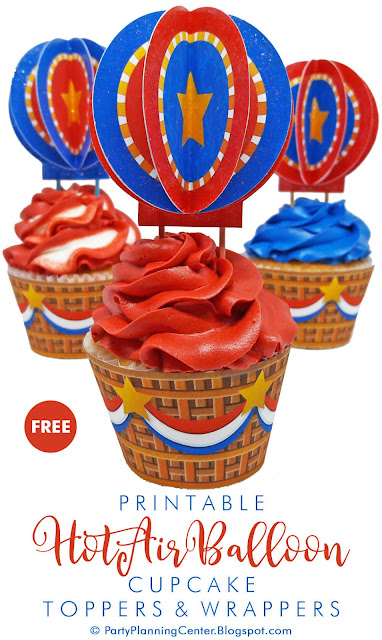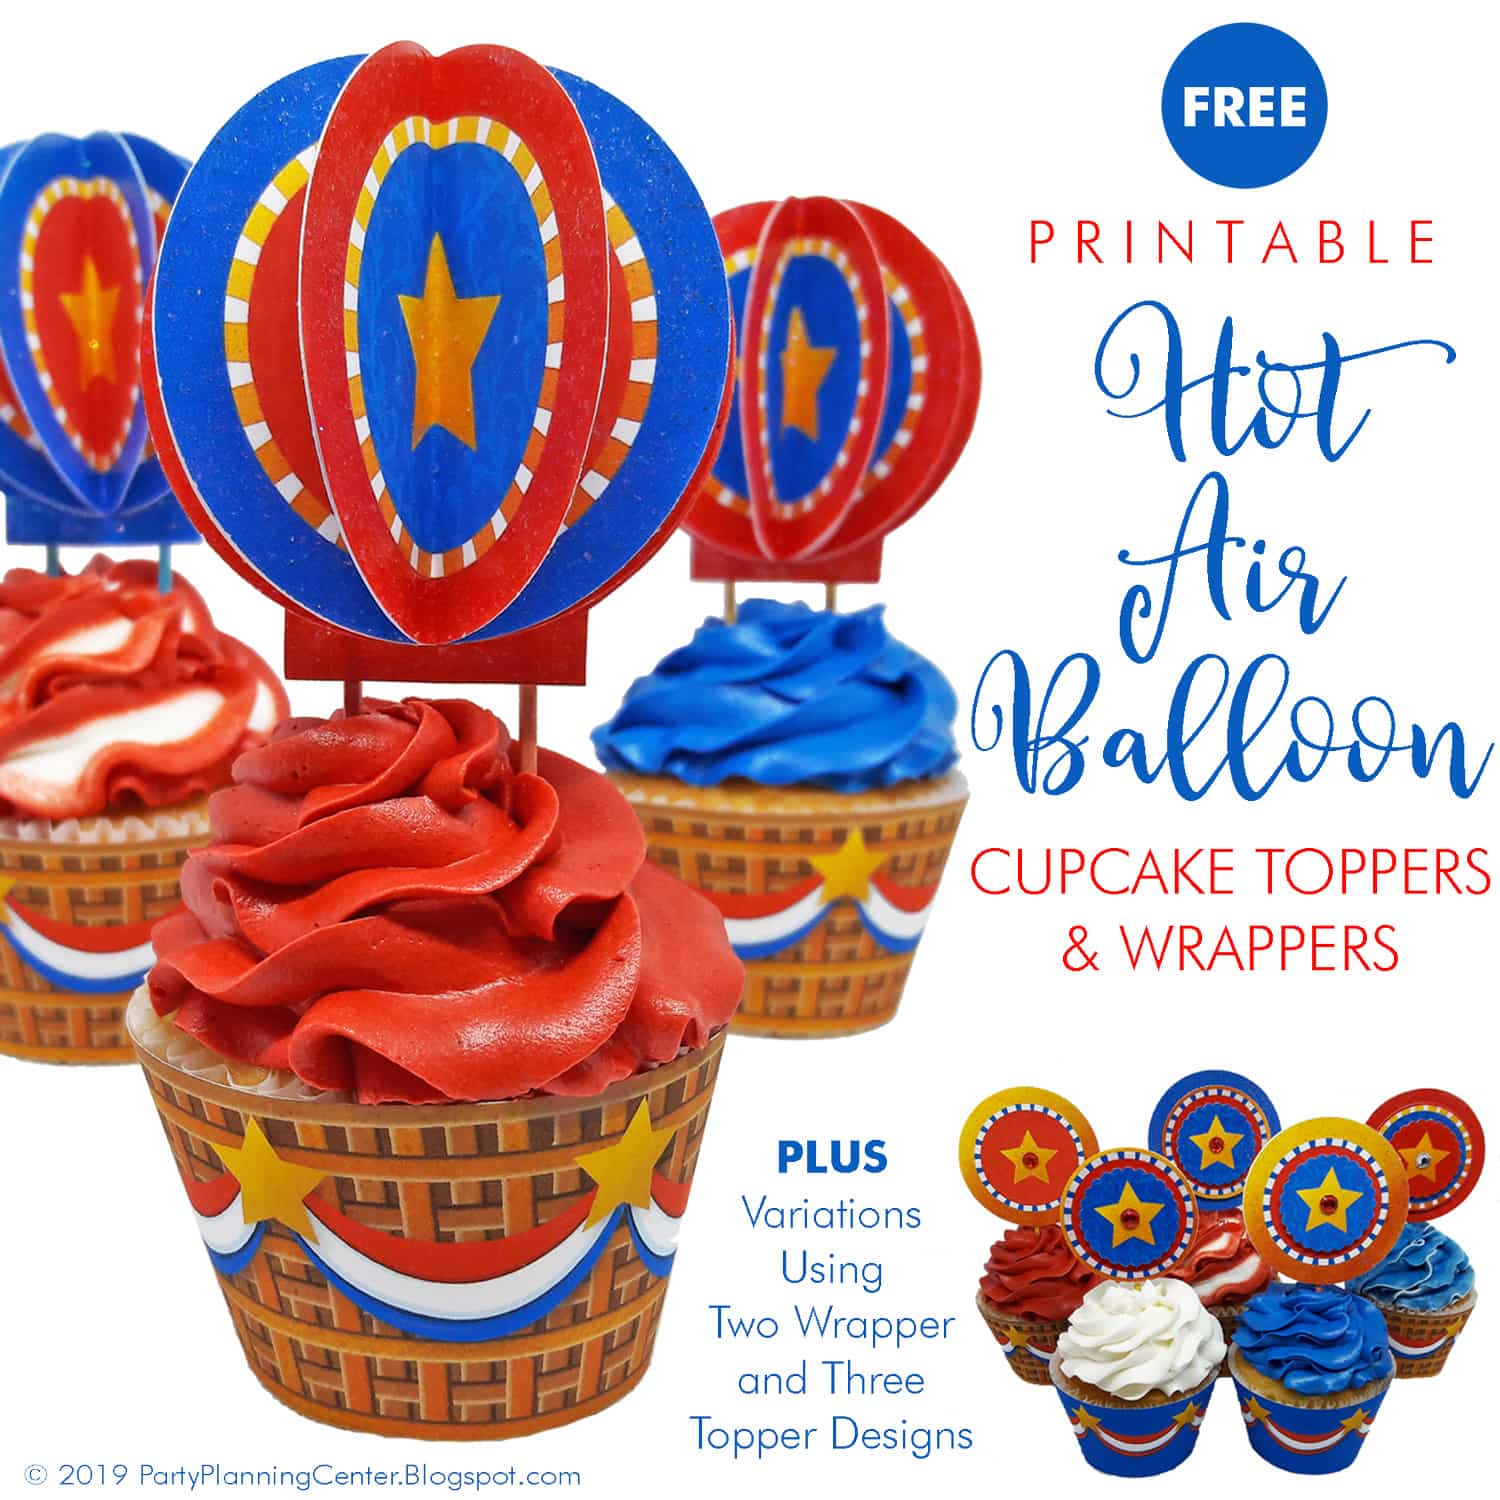
I've had the idea for these patriotic cupcake topper printables for quite a while now. I'm so pleased to finally bring them forth (a little play on words there--very little) in time for the US patriotic season, which includes the Fourth of July, Memorial Day, Flag Day and Labor Day. But I think these designs are even more flexible than that. You can also use them for birthdays or other types of parties, especially if you have a superhero theme.
Download the Cupcake Toppers and Wrappers From This Pink Link
There are two color schemes of cupcake wrappers templates: a woven hot air balloon basket and a blue background with the same patriotic bunting as the basket version. There are three color schemes with the same design for the cupcake toppers. They allow you to mix and match in a lot of different ways, which you'll see in the instructions and photos below.
The download link goes to a file in zip format. If you need zip software, 7Zip is free and open source.
Instructions for the Hot Air Balloon Cupcake Toppers
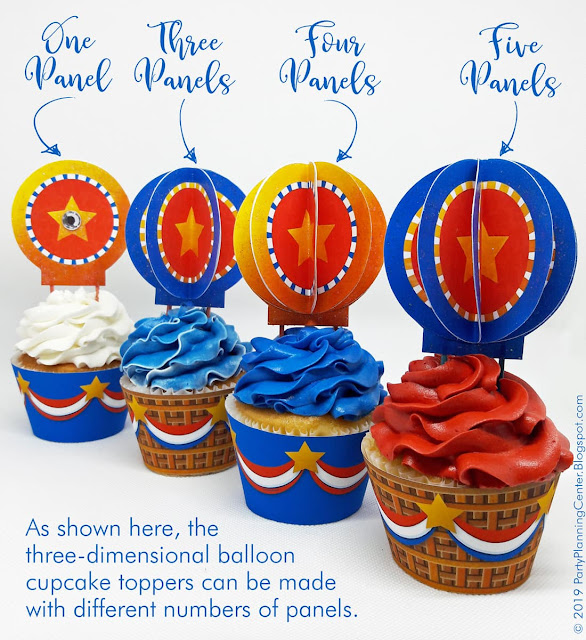
These toppers are pretty easy to make if you have a 2.5" circle cutter. There are only a few circumstances when you have to use scissors: if you want to just use one panel or if you want to create the back to the three-dimensional folded balloon panels. You can use as many circle panels as you want. I stopped at five but you don't have to. Here are what some of the variations look like:

You can make the balloons all in one color or alternate two or even three of the colors in any number of panels. Any way you go, you'll end up with red, white and blue cupcakes, plus a bit of gold. See below for some color variation ideas when using five panels:

Step 2. Once you've printed the topper sheets for the colors you want to use, cut around the shape of one of the toppers, including the rectangle that sticks out at the bottom. This will form the base of the balloon. I recommend small curved scissors. You'd be amazed how much easier they make it to cut around a circle.
If you use presentation or similar weight paper, you'll probably want to cut a circle out of heavier card stock with a 2.5" circle cutter and use a glue stick to attach it to the back of the topper you've just cut by hand. This will make the topper much stronger.
Don't worry if the hand-cut shape is a little wonky. The folded pieces you'll be creating next will cover it up. It's just there to provide a structure to which you can add the toothpicks.
Step 3. Cut out the number of circles you want to use to construct the topper with a 2.5" circle cutter. See the two images at the beginning of this section for samples of the number of panels and color combinations.
Step 4. Fold the circles so the fold goes up the middle of each star. Note that the gold panels are not the same shade all around. The darker shade should go toward the bottom right, as shown below. This isn't an issue for the red and blue panels since they're flat colors.
Step 5. Glue the folded panels together using a glue stick. If you work quickly you can use a regular glue stick. If you want to take your time, you can use a repositionable glue stick. Either is preferable to regular glue, which is too hard to work with and can sometimes also warp the paper.
The image shows how two panels fit together. Make sure the rounded edges are aligned on both sides and there's no white sticking out. Keep adding circles until you get as many panels as you want to use.
Step 6. As shown below, glue the folded and glued circles you created in Step 5 to the base you created in Step 2.
Step 7. Using whatever glue you have on hand (as long as it's non-toxic), glue two toothpicks on either side of the back of the balloon. You can space them as shown in the photo or you can spread them out wider if you'd like.
If you don't want the glue to show, you can punch a 2.5" piece of card stock and use a glue stick to attach it to the back over the toothpicks. But my hope is that people will be so busy fawning over your creation, they probably won't even notice the glue on the back. :-)
If you don't want the glue to show, you can punch a 2.5" piece of card stock and use a glue stick to attach it to the back over the toothpicks. But my hope is that people will be so busy fawning over your creation, they probably won't even notice the glue on the back. :-)
Sparkly Variation: You can use Extreme Glitter Mod Podge or Sparkle Mod Podge on the toppers to make them shine. It also provides extra stability and makes the toppers look professional as if they were store-bought.
You can apply the Mod Podge before you cut the topper pieces. But you have to make sure it's well-set (45 minutes minimum) before trying to cut a circle using the circle cutter. Chances are good that not-set Mod Podge will jam it. As you might guess, I came by this information through experience. If it happens to you, just soak the cutter in some water and the paper will loosen up and come out. Or, you can just wait until after you cut the circles to add the Mod Podge.
Instructions for the Cupcake Wrappers
Step 1. Print the wrappers on semi-heavy card stock or on presentation paper, which is a little lighter. I use the presentation paper because it's easier to manipulate. You can print one or both color schemes.
Step 2. Once you've printed the wrapper sheets, cut around the shapes. I recommend small curved scissors. They will make it much easier to cut around the curved edges.
Step 3. Curve the wrapper around the cupcake, pulling it tight but not too tight. You can use tape on the overlap to close and affix wrapper (the easiest method but not that clean-looking) or glue lines, which will seal the wrapper without using any visible glue. A glue stick will also work but regular glue isn't advisable because it takes too long to dry.
Step 3. Curve the wrapper around the cupcake, pulling it tight but not too tight. You can use tape on the overlap to close and affix wrapper (the easiest method but not that clean-looking) or glue lines, which will seal the wrapper without using any visible glue. A glue stick will also work but regular glue isn't advisable because it takes too long to dry.
Instructions for the Circle Cupcake Toppers
You can make many variations of the toppers using just circles. They're great for 4th of July, Memorial Day, Flag Day or Labor Day but they also will work for birthdays--especially as superhero cupcake toppers!
I used three sizes of circle cutters to make the examples below: 2.5", 2" and 1-7/16" (scalloped). You can use other variations if you'd like.
Step 1. Cut the circles you want to use as the base art.
Optional: Add Extreme Glitter Mod Podge or Sparkle Mod Podge to the circles.
Optional: If you use presentation paper or paper of similar weight, punch circles in the same sizes but of heavy card stock and glue them to the back of the colored circles with a glue stick.
Step 2. Glue one toothpick to the back of each topper. Make sure it's in alignment with the direction the star is pointing before it dries.
Step 3. If you want to create a 3D look, cut smaller circles in either matching or contrasting colors. I've provided some variations below with the circle cutter dimensions I used for each design. You can apply Mod Podge on the top layer(s) if you want.

Step 4. When you're ready to add the next layers, use foam adhesive stickers (the stickers at the link are too large but they will give you an idea of what I mean), which will act as risers and provide a little separation between the bottom and second layer.
Optional: Add flat-backed rhinestones in the center for additional sparkle and flair. They're a particularly nice touch if you want to create a superhero look.
I hope you enjoy creating these patriotic cupcake ideas! Please leave a comment below if you have any questions or have found these useful.
. . . . . . . . . .
Want more patriotic holiday designs? Check out AllFreeHolidayCrafts.com.


Credits: The base hot air balloon art is from Josy Carson and the bunting on the cupcake wrappers templates came from Creative Fabrica.
Terms: This artwork is for your personal use only. Please don't post the printable templates to your site. But you're welcome to post one of the photos below along with a link to this page. Please read my short and flexible terms if you'd like to post a link.
Disclaimer: As an Amazon Associate, I earn from qualifying purchases. Affiliate (Amazon and Creative Fabrica) links are used in this post and the sidebar, which means I would be paid a commission if anything is purchased through them. This doesn't increase what you pay if you buy anything though.


0 comments:
Post a Comment
I welcome your comments!